ONLINE WORKSHOP
PAPER LANTERNS
Mid-Autumn Festival
It is Mid-Autumn Festival, one of our favourite celebrations of the year! In Hong Kong, this holiday is traditionally marked with brightly coloured lantern displays, dragon dances, eating mooncake and of course gazing at the beautiful full moon.
Diy at home
As this year (2020) has been rather different let’s say, people are spending more time indoors. So, we have put together some really fun, quick and easy paper lantern DIY ideas for you to try. Everything you will need for this project can be found in your own home.
Ready to get making?
MaTerials
Here are some suggestions of what you could use:
Coloured Paper
Origami paper
Parcel paper
Paper shopping bags
Food packaging
Magazine pages
Patterened gift wrap
Baking Paper
Tools
For this project you will need:
Scissors or craft knife
Ruler
Pencil
Stapler
Glue stick
Sellotape
Coloured pens
Cutting mat
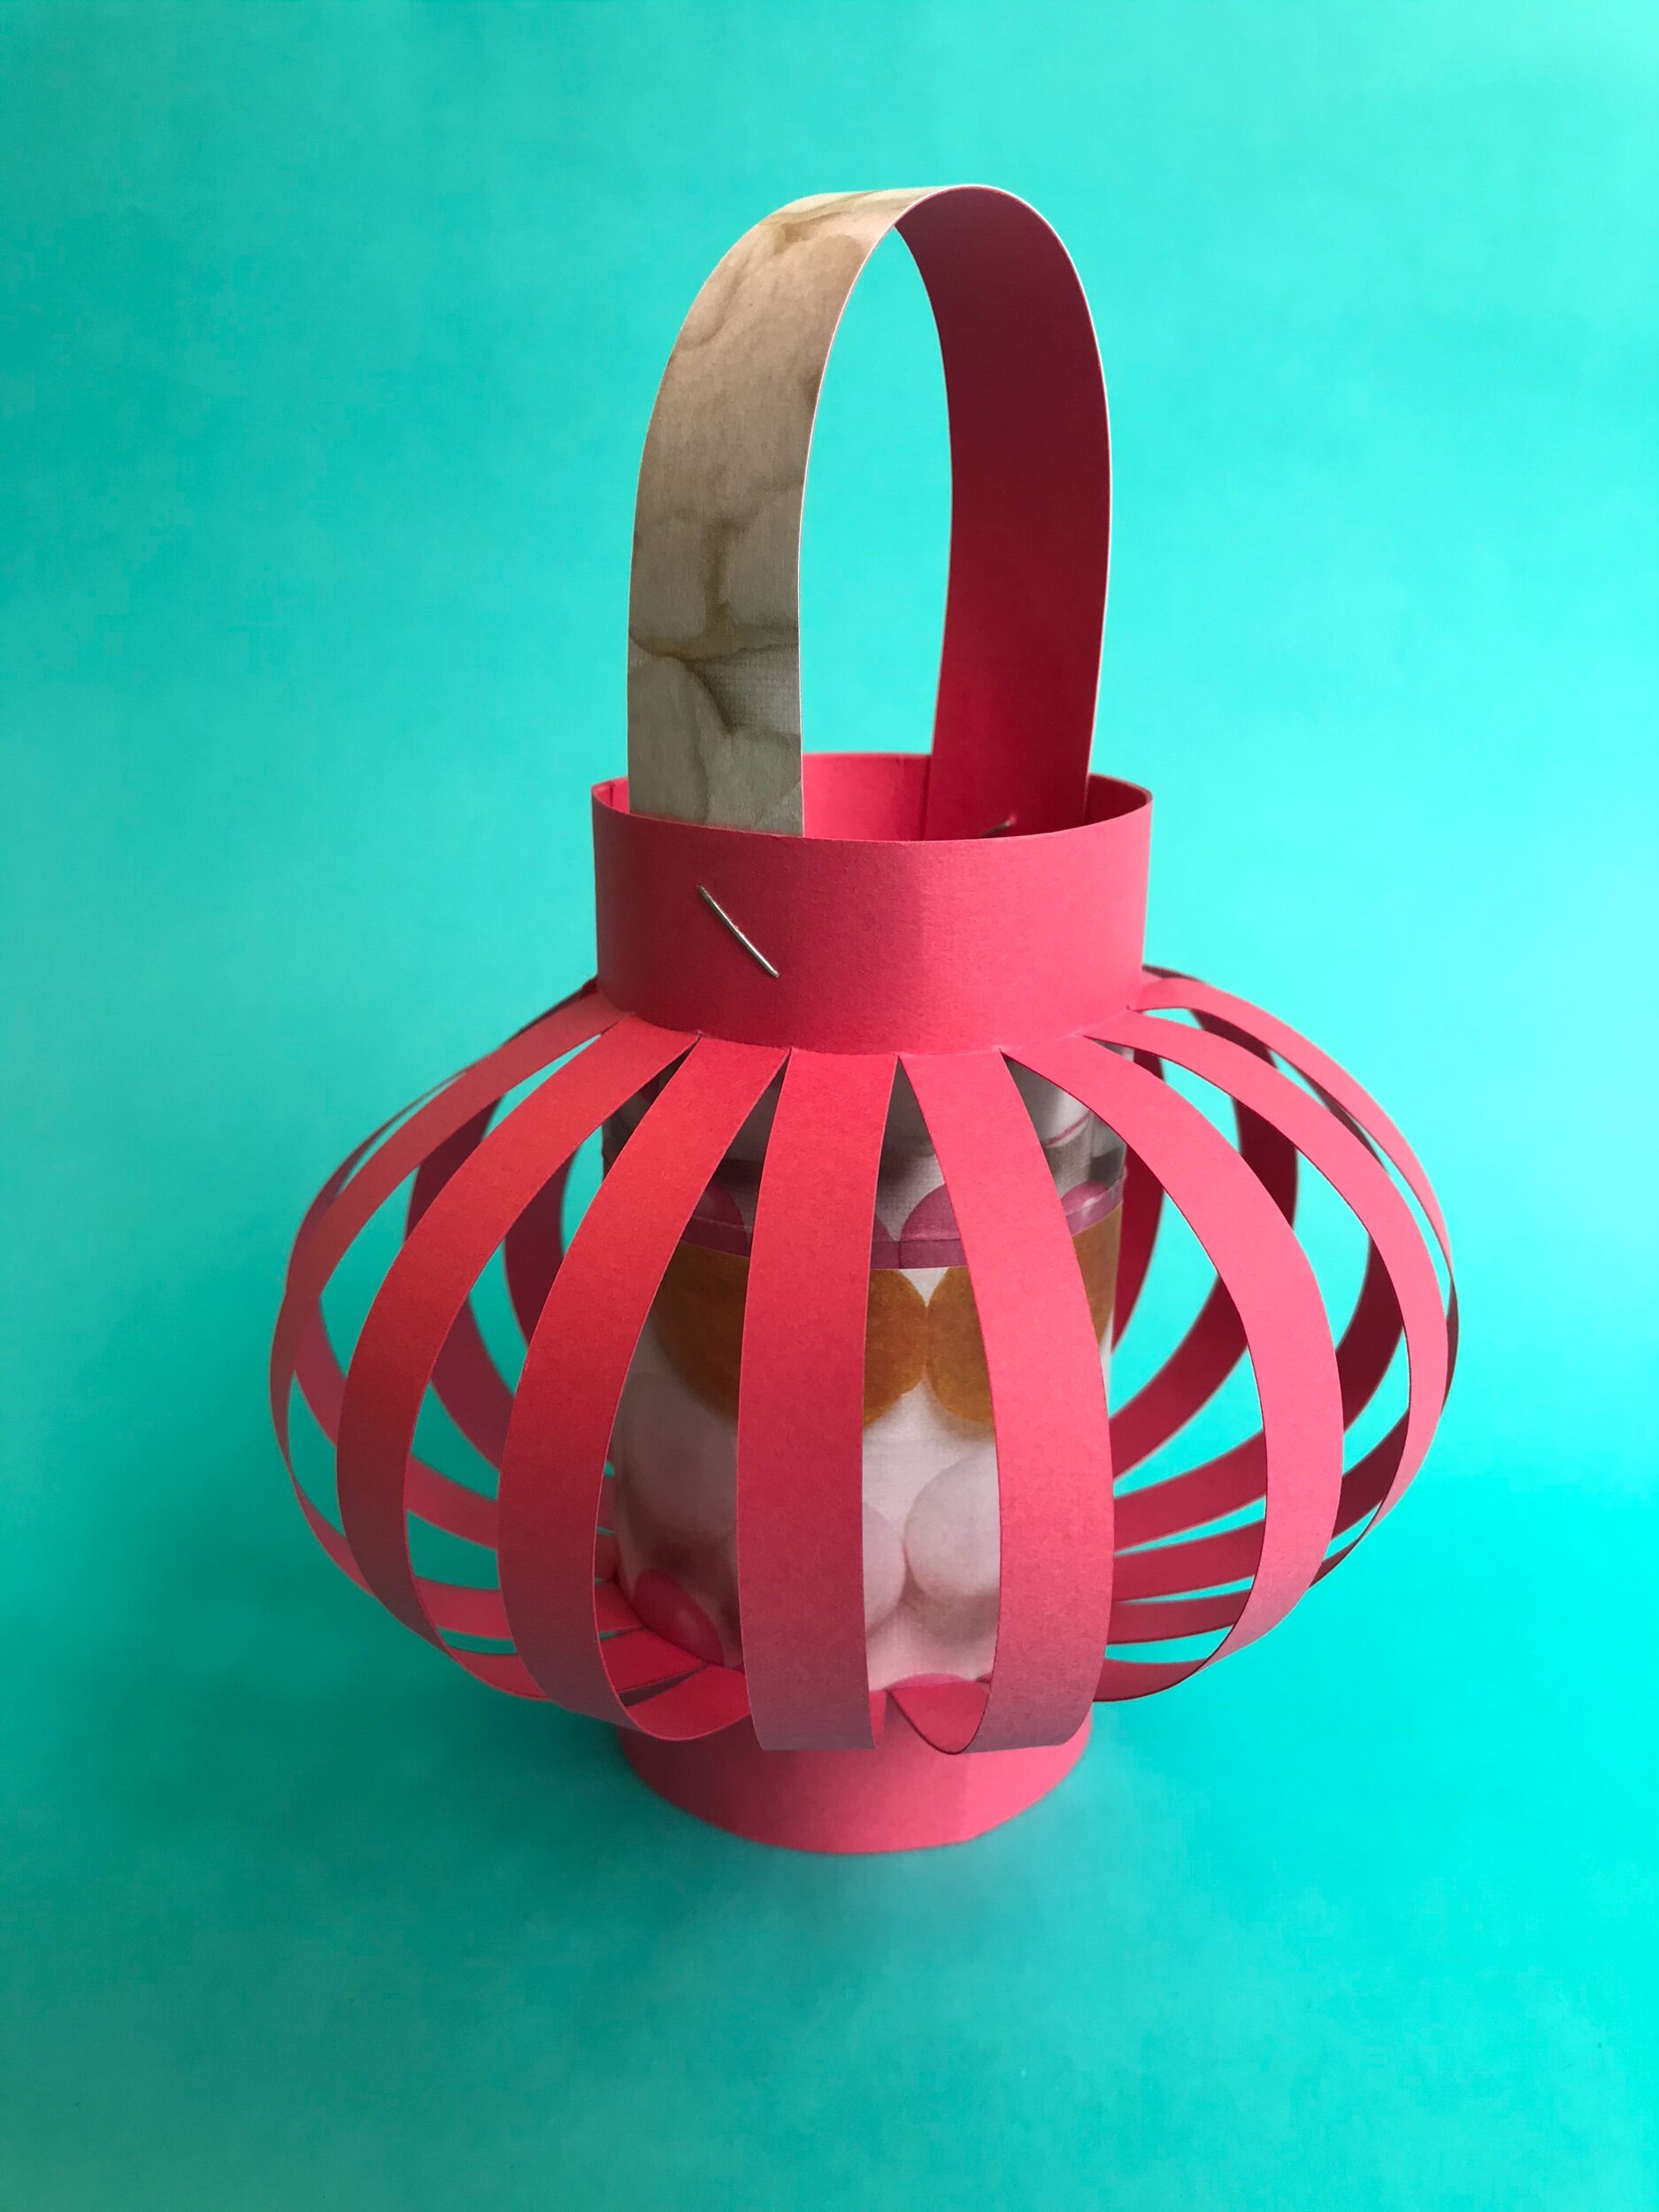
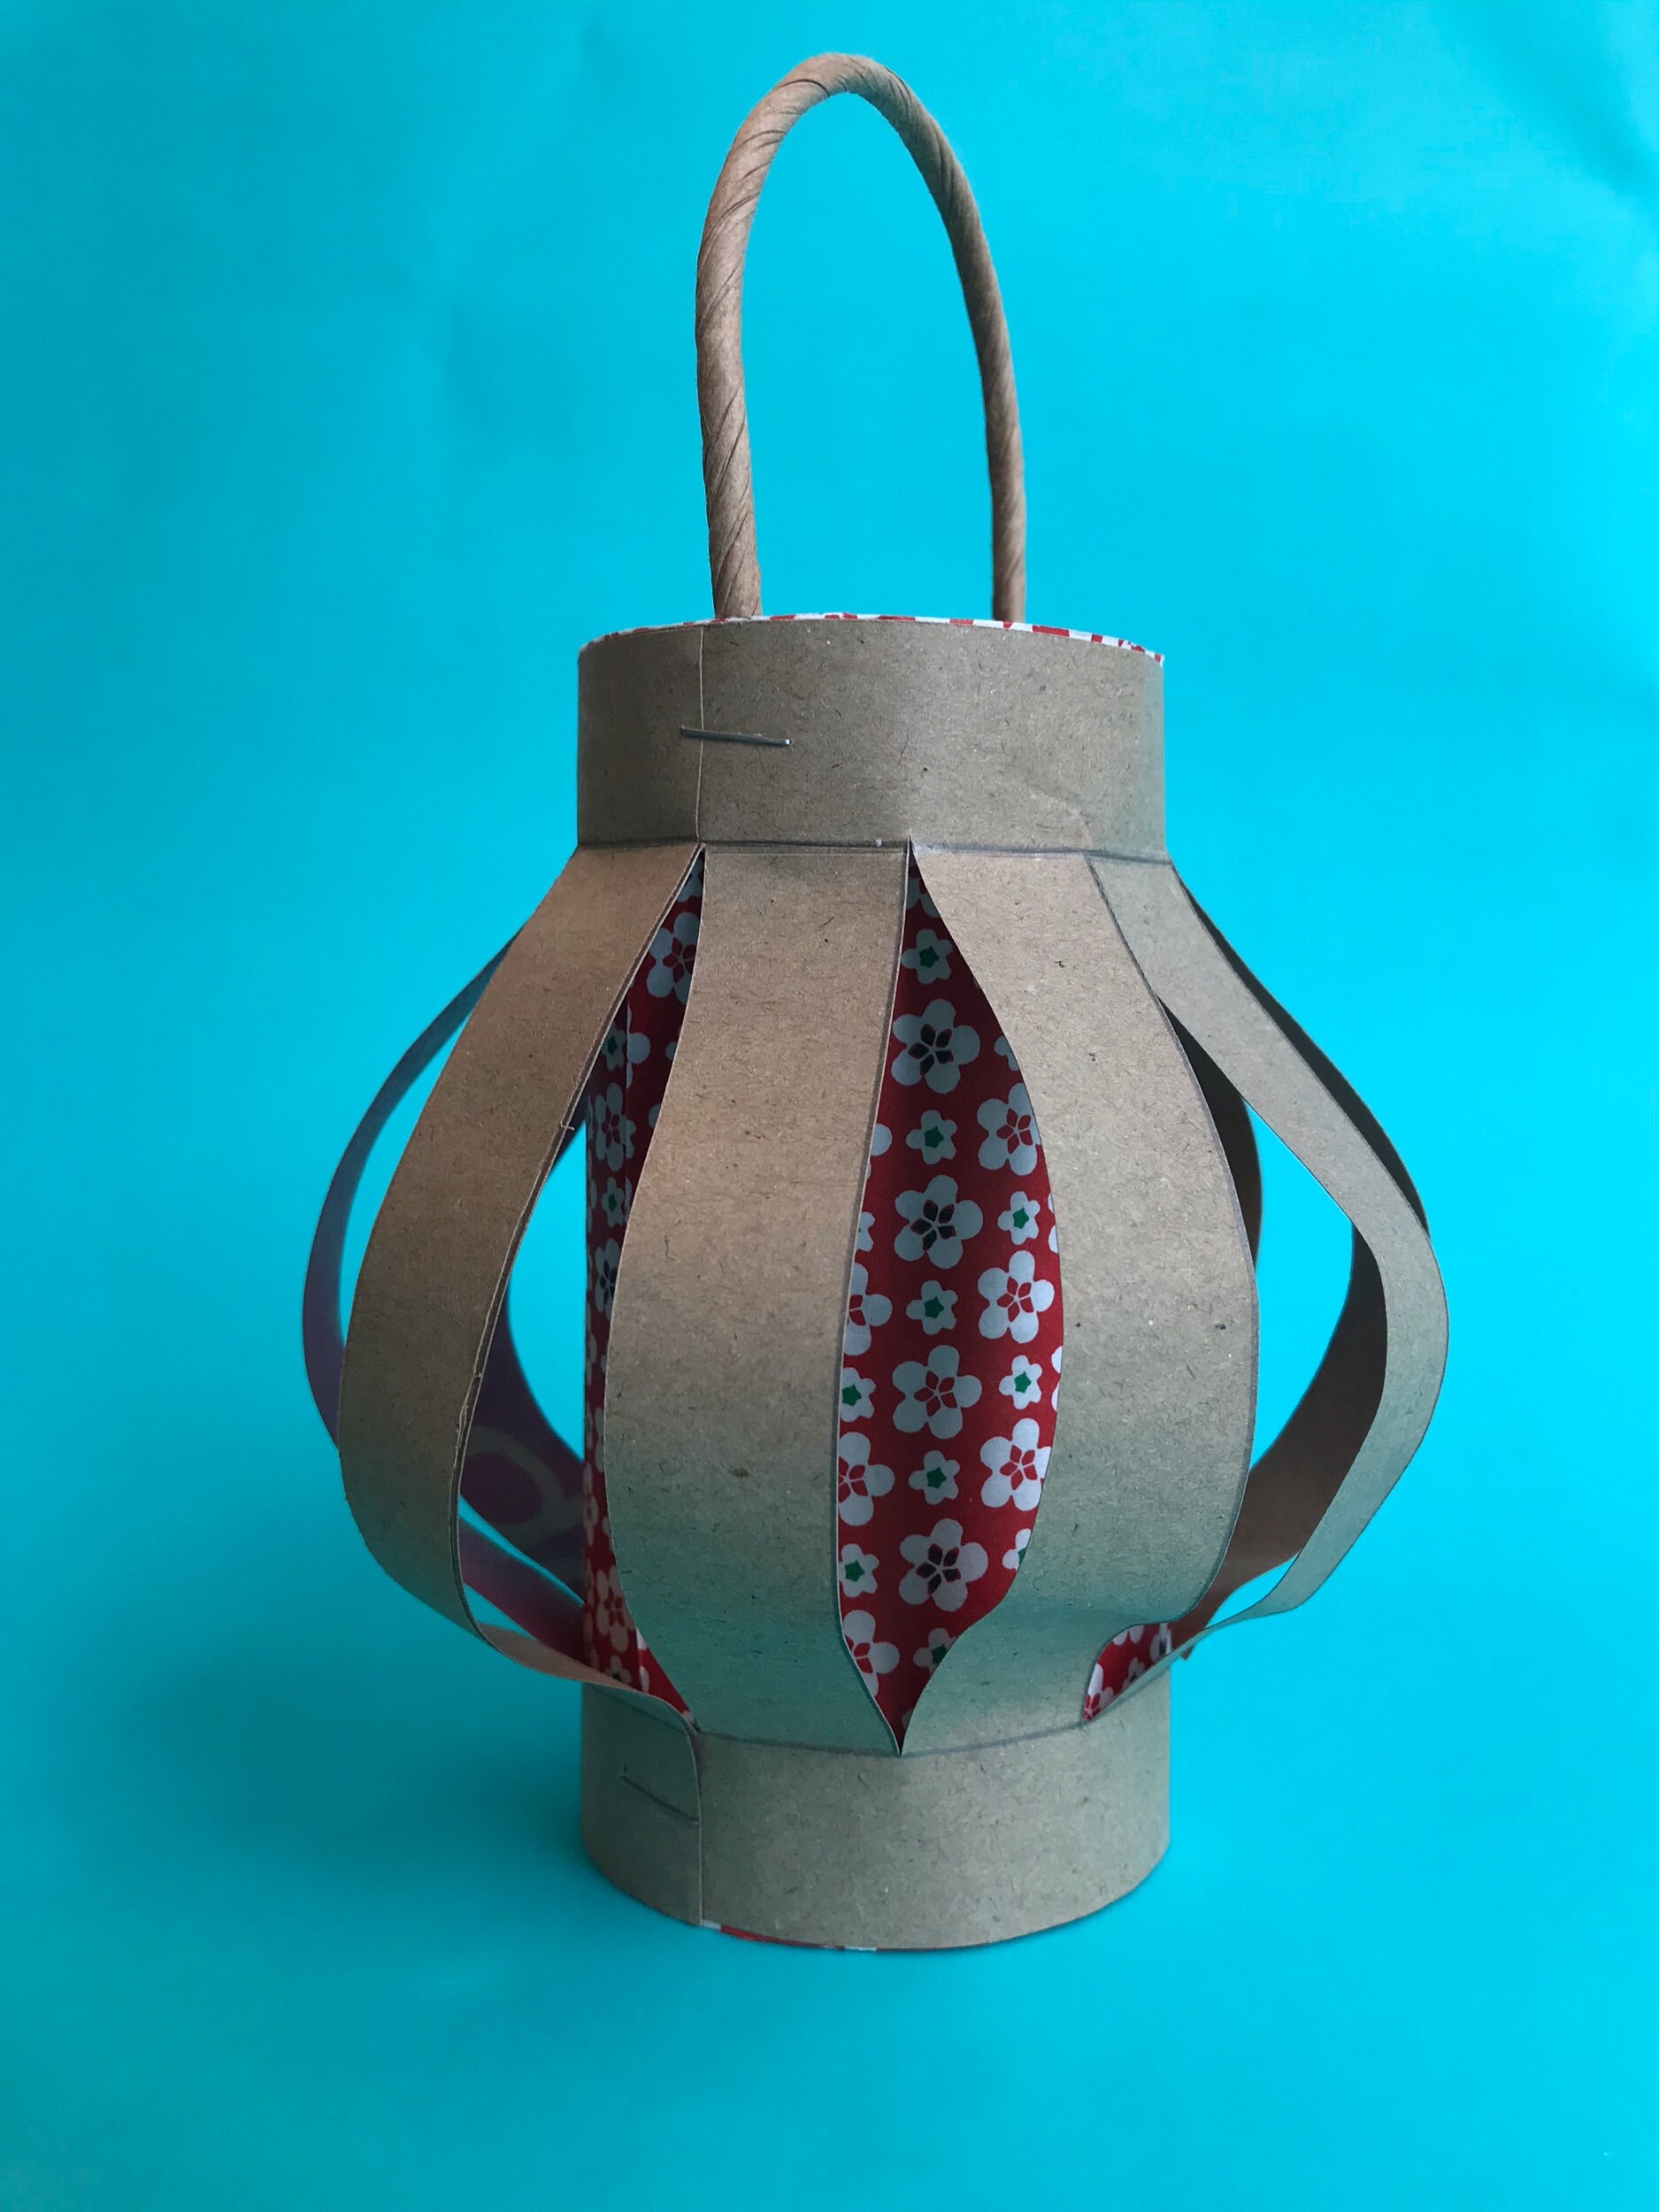
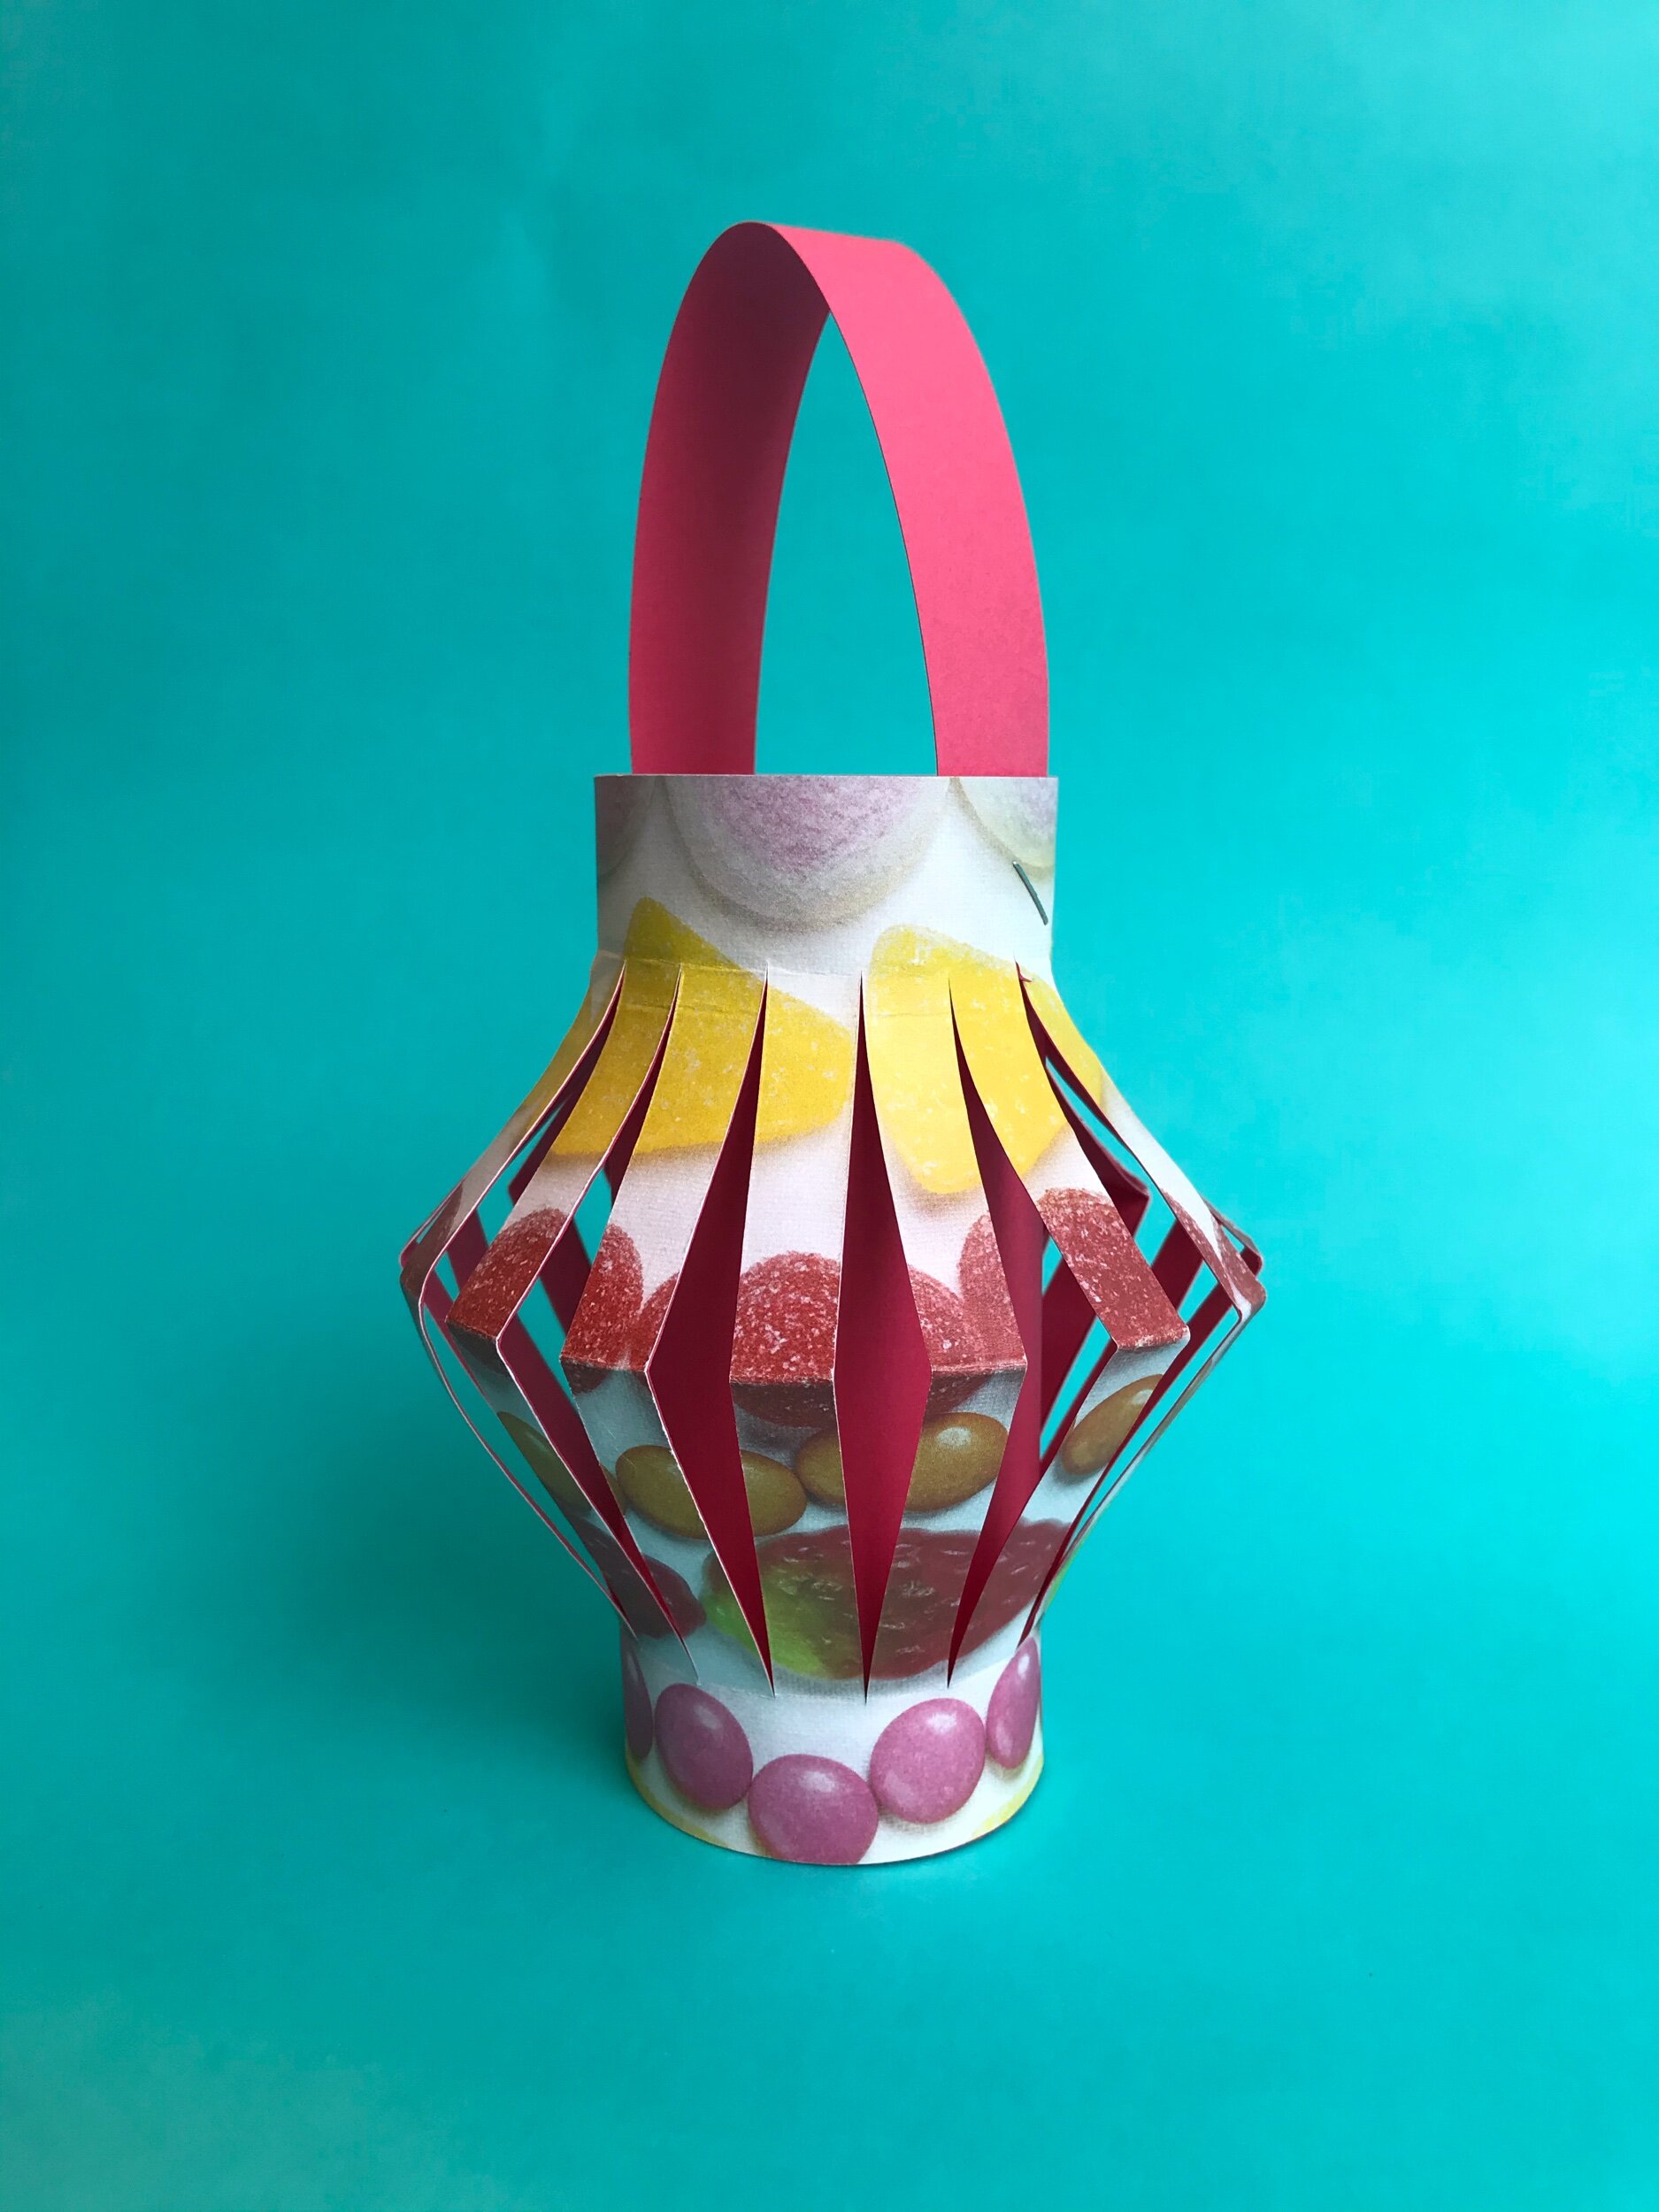
round shape lantern
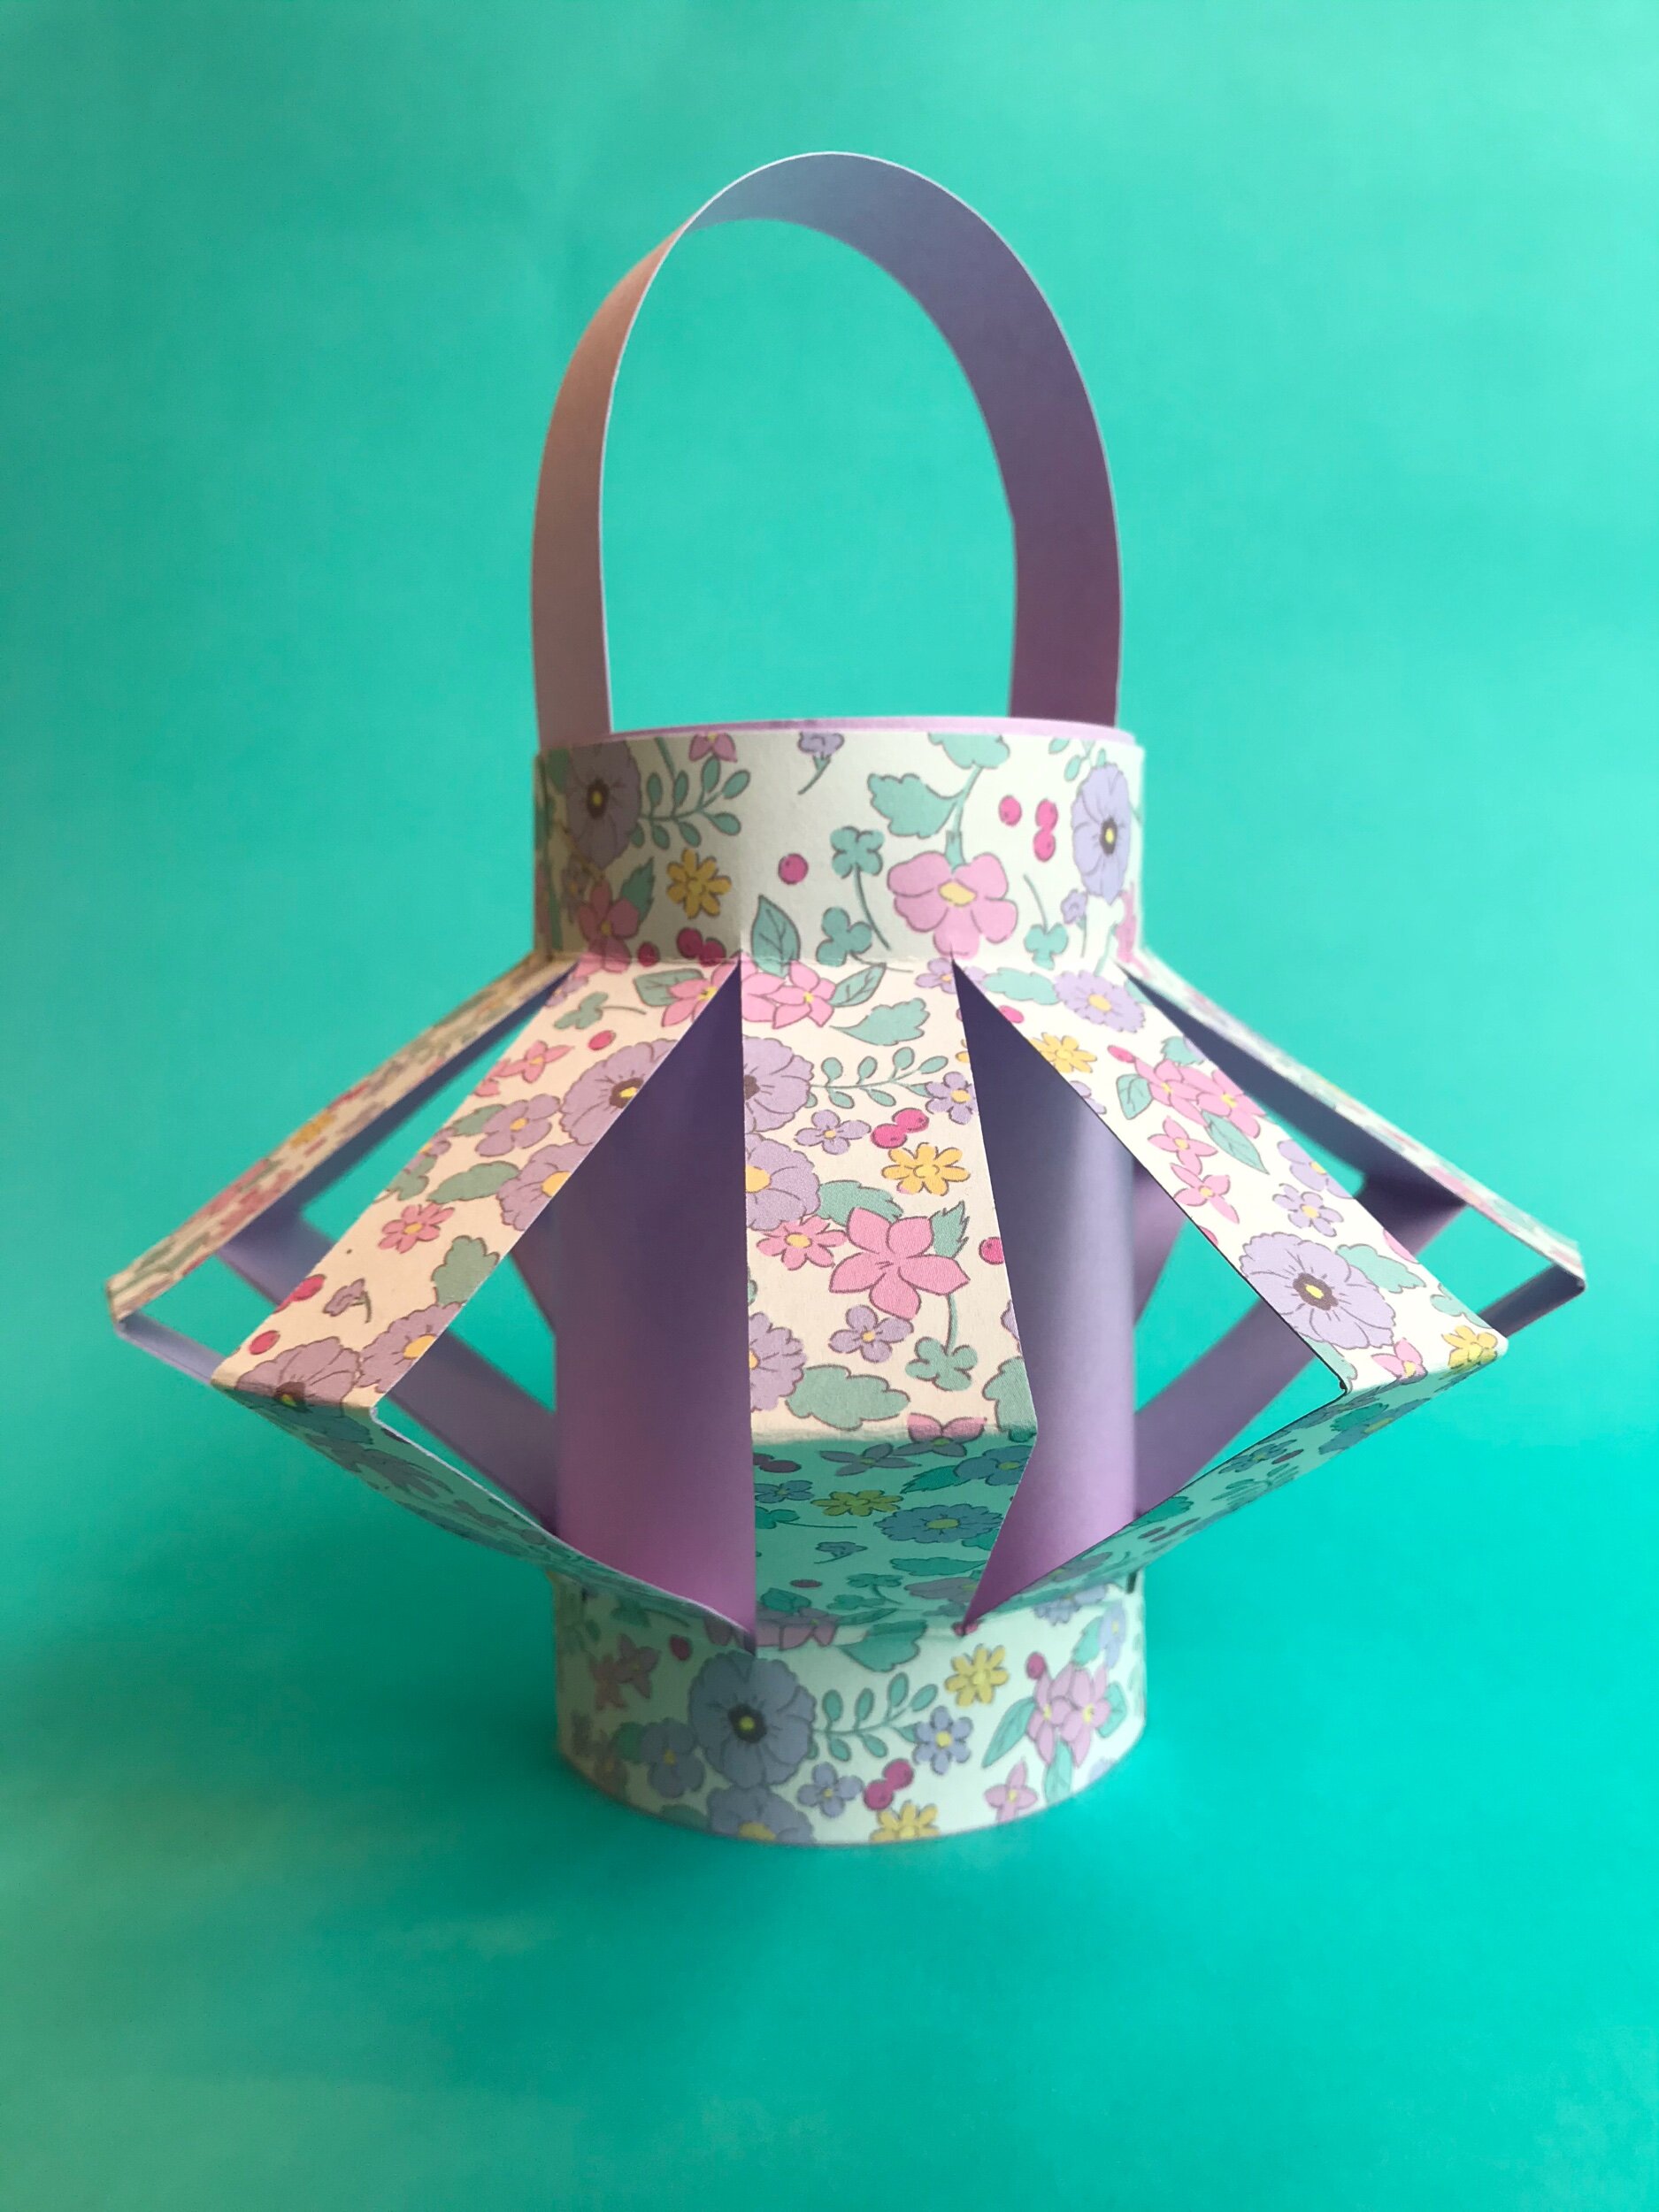
This is the most simple lantern design. You can add some extra details by attaching patterned paper to the inside or outside panel pieces.
Here I have used origami paper and also a colourful pick n’ mix sweets paper bag from IKEA to dress up my lantern.
method
Start by cutting 2x pieces of paper 15cm x 22cm. One will be used for the outside and one is for the inside of the lantern.
Starting with the outside of the lantern. Measure a 2cm boarder horizontally along the top and bottom of one piece of paper.
Use the blunt edge of your scissors to score the lines to make it easier to fold. (but be careful not to cut through the paper… or your finger!)
Now draw multiple lines vertically spaced at 1cm (or 2cm if you prefer a more chunky lantern).
If you would like to add some patterned paper to the outside of your lantern, go ahead and stick this to the back of your paper now and allow it to dry fully before the next stage.
Carefully cut along the lines between the outer borders.
Roll up your lantern and glue together by over lapping the 2 end strips. (over lap just 1 if you made 2cm panels)
With your second piece of paper cut 2cm off the top, it will measure 2cm x 22cm. Put this aside for your handle.
Roll up the remaining piece of paper 13x 22cm, slide it into the middle of your lantern and fix in place with staples.
Finally attach your handle by stapling it into the inside. See! Super easy!!


simple middle-fold lantern
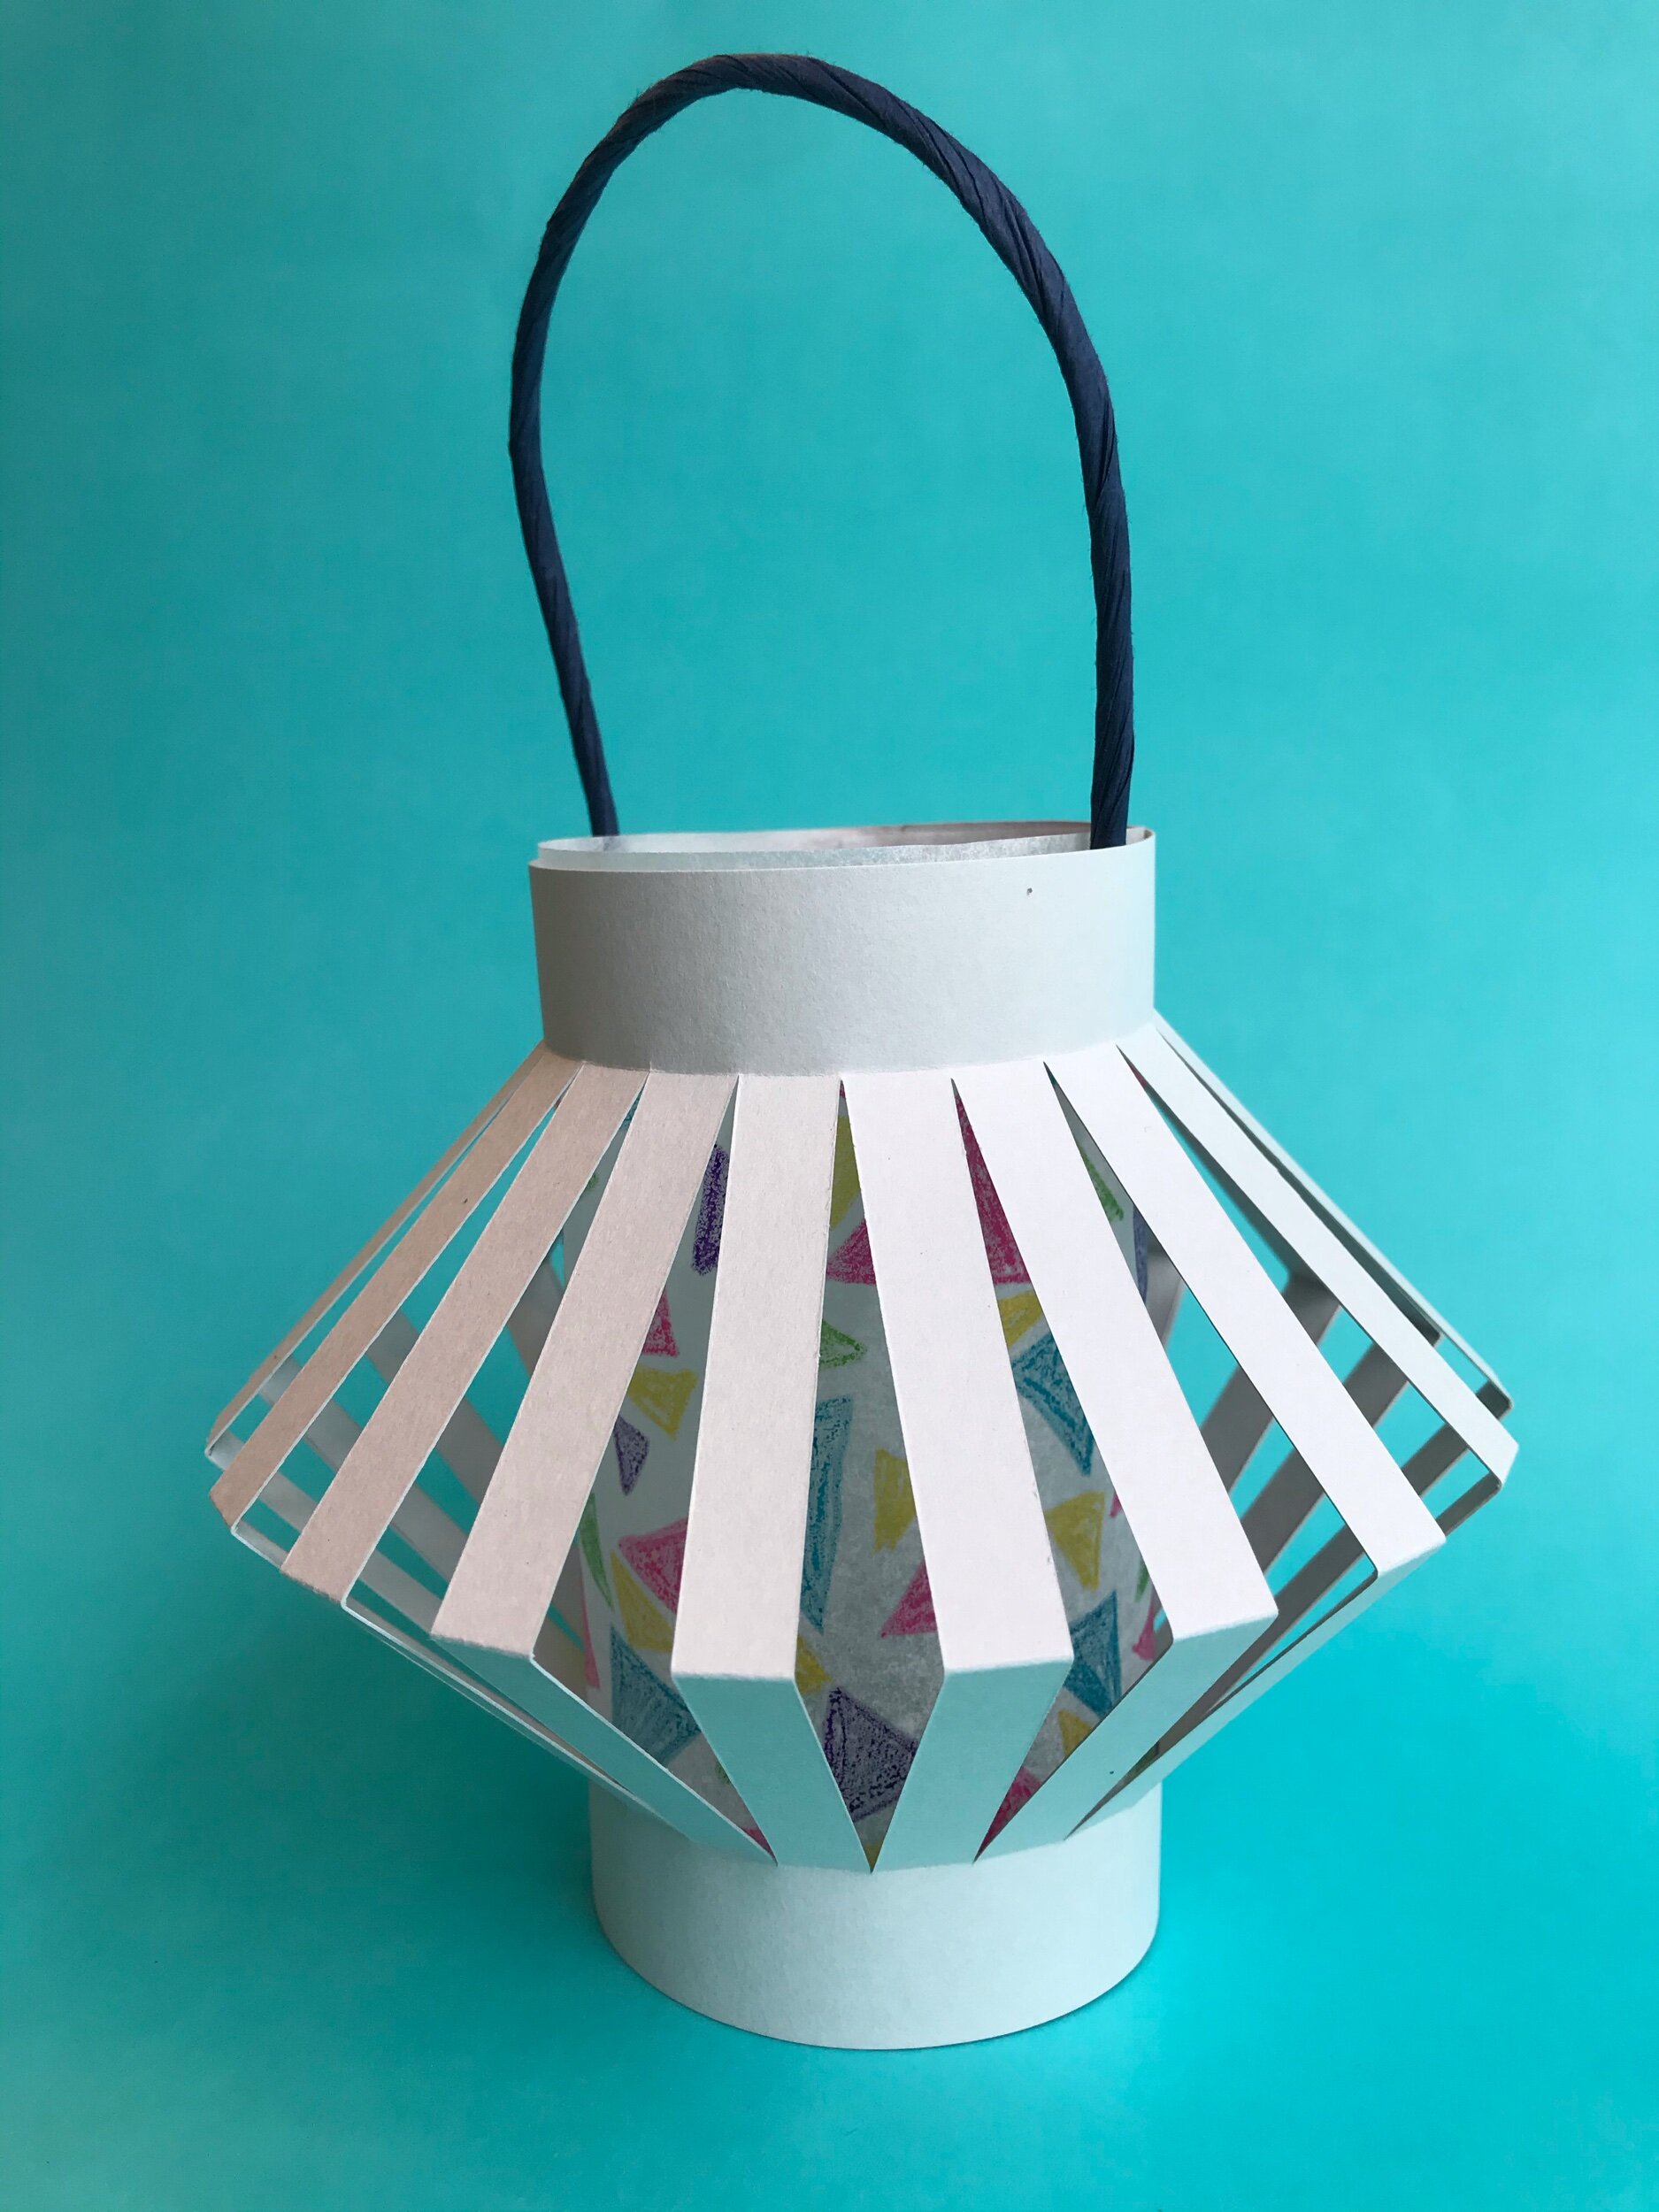
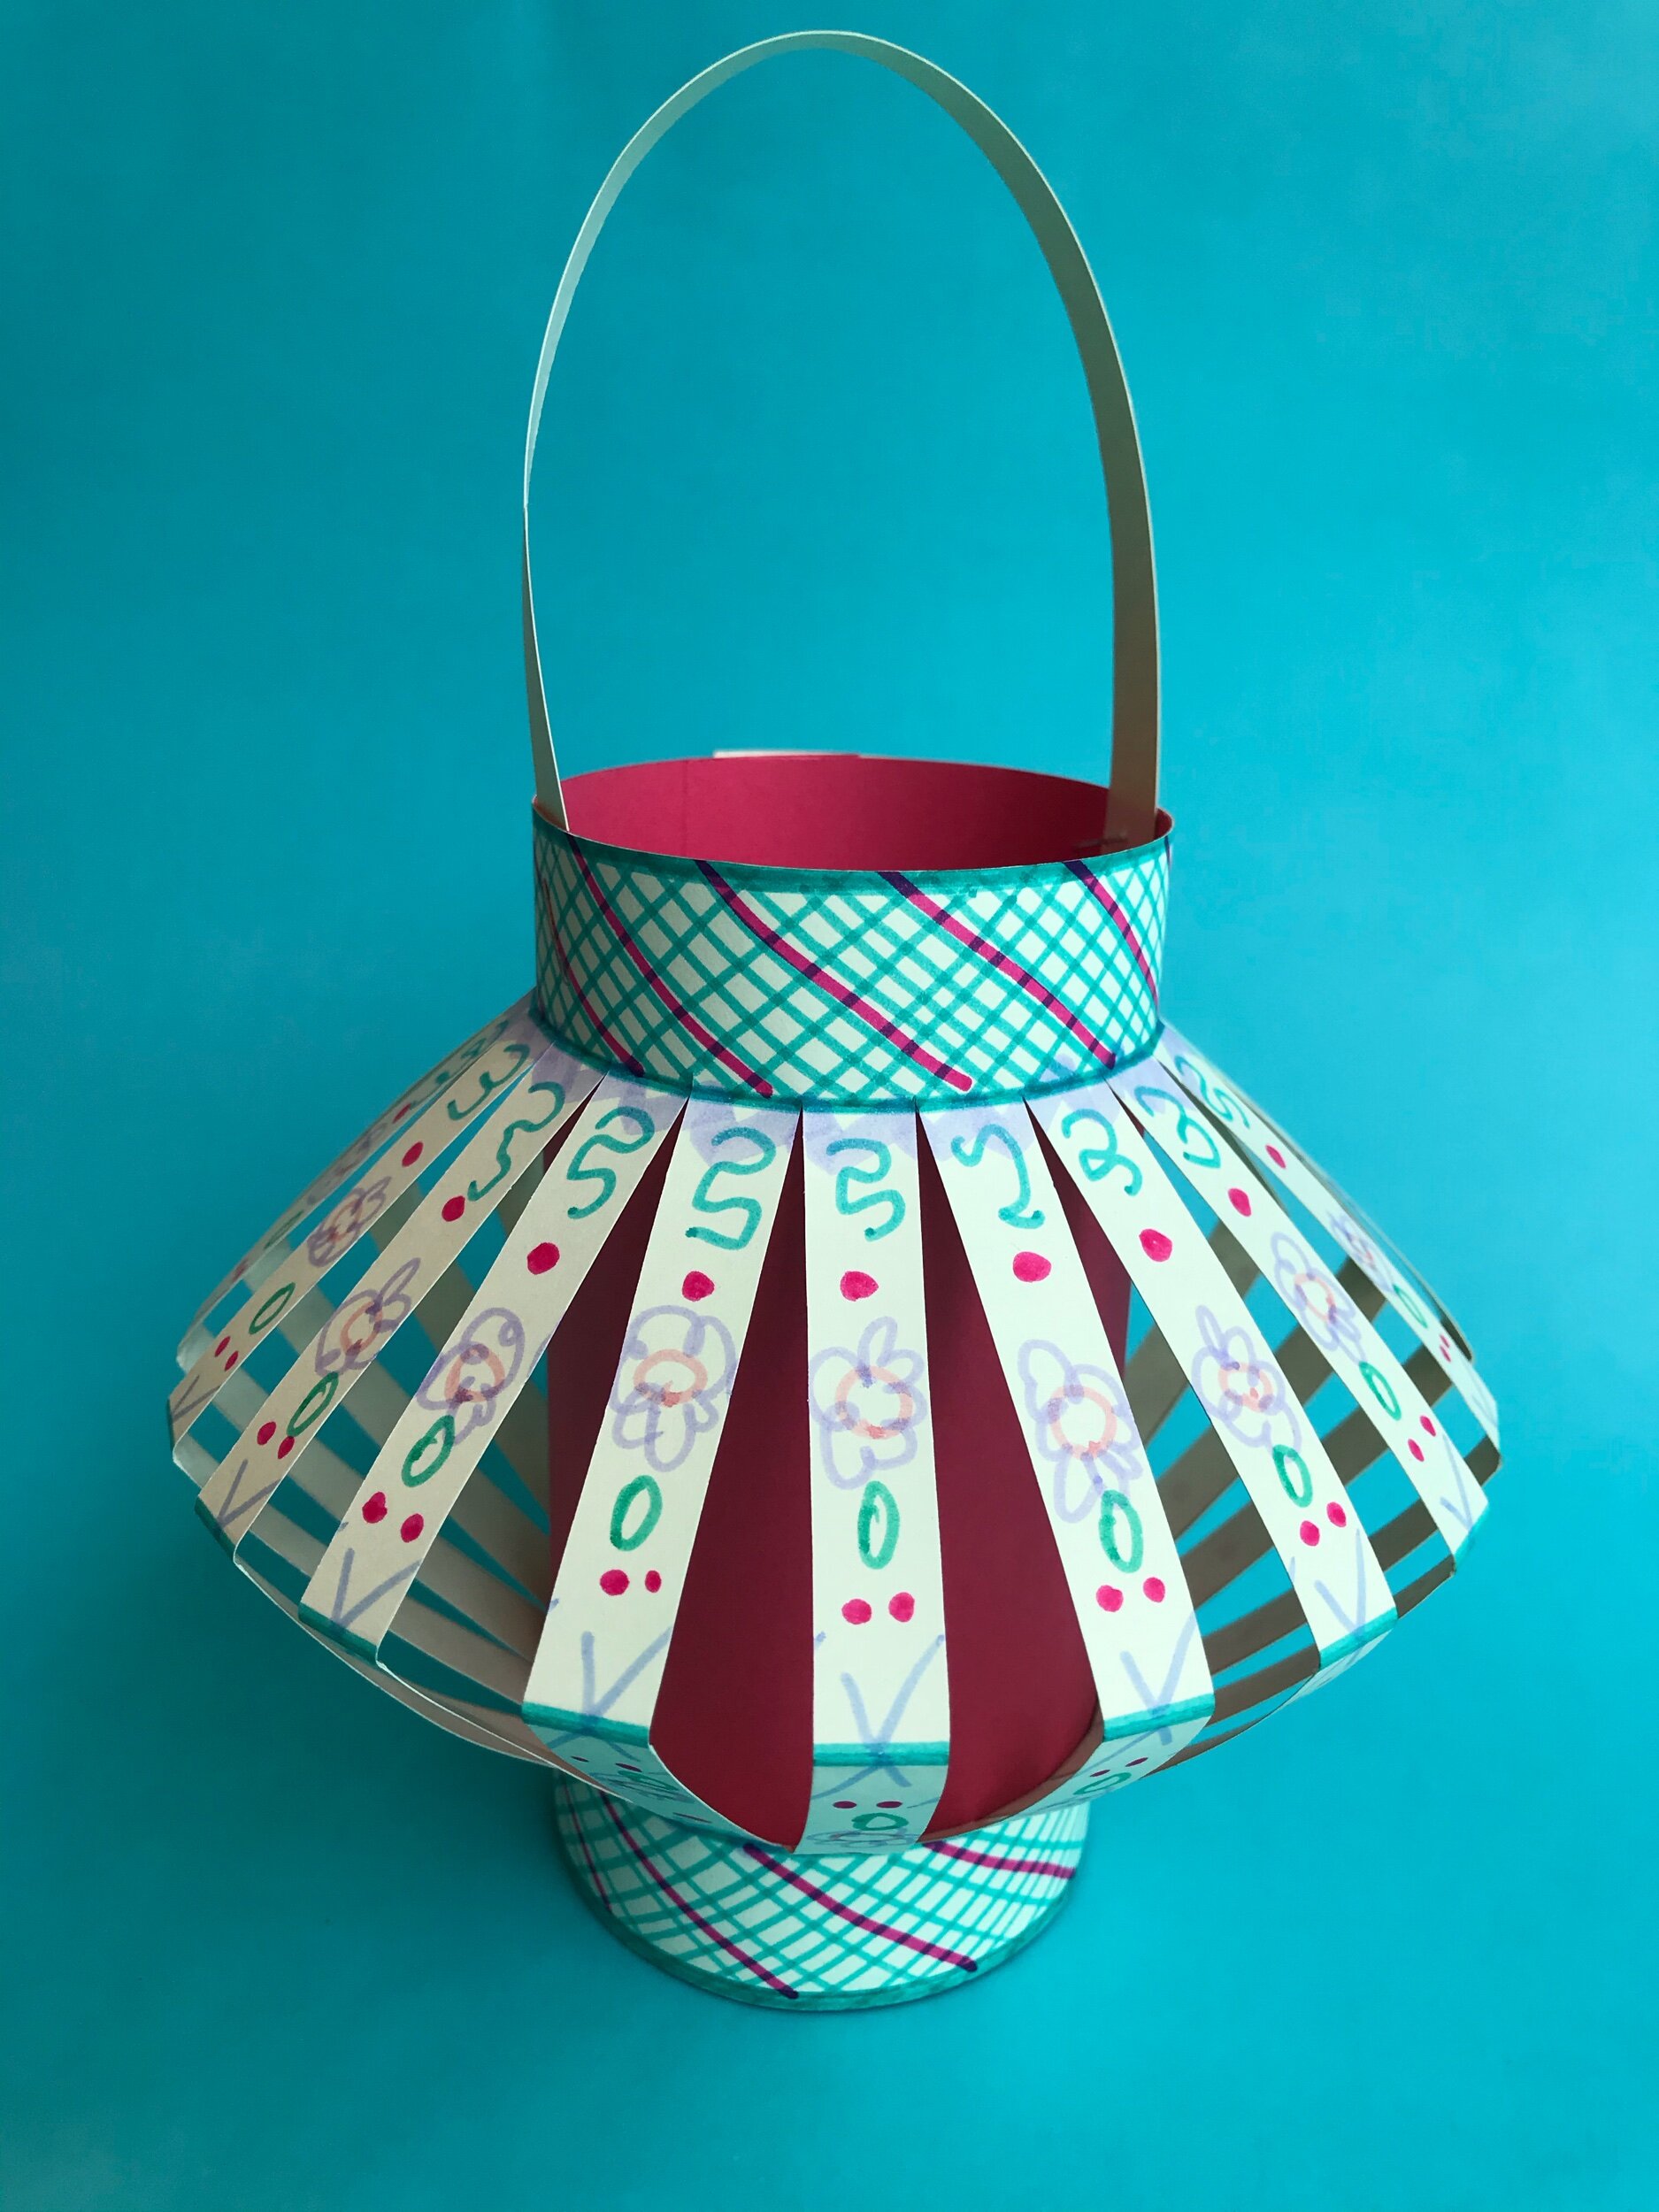
This is also a very easy lantern to make. Here I have used baking paper for the central panel (to let light in) and created a colourful design using zebra drawing pens.
Just make an extra fold along the middle of your paper before cutting all of the panels.




multi-folded lanterns
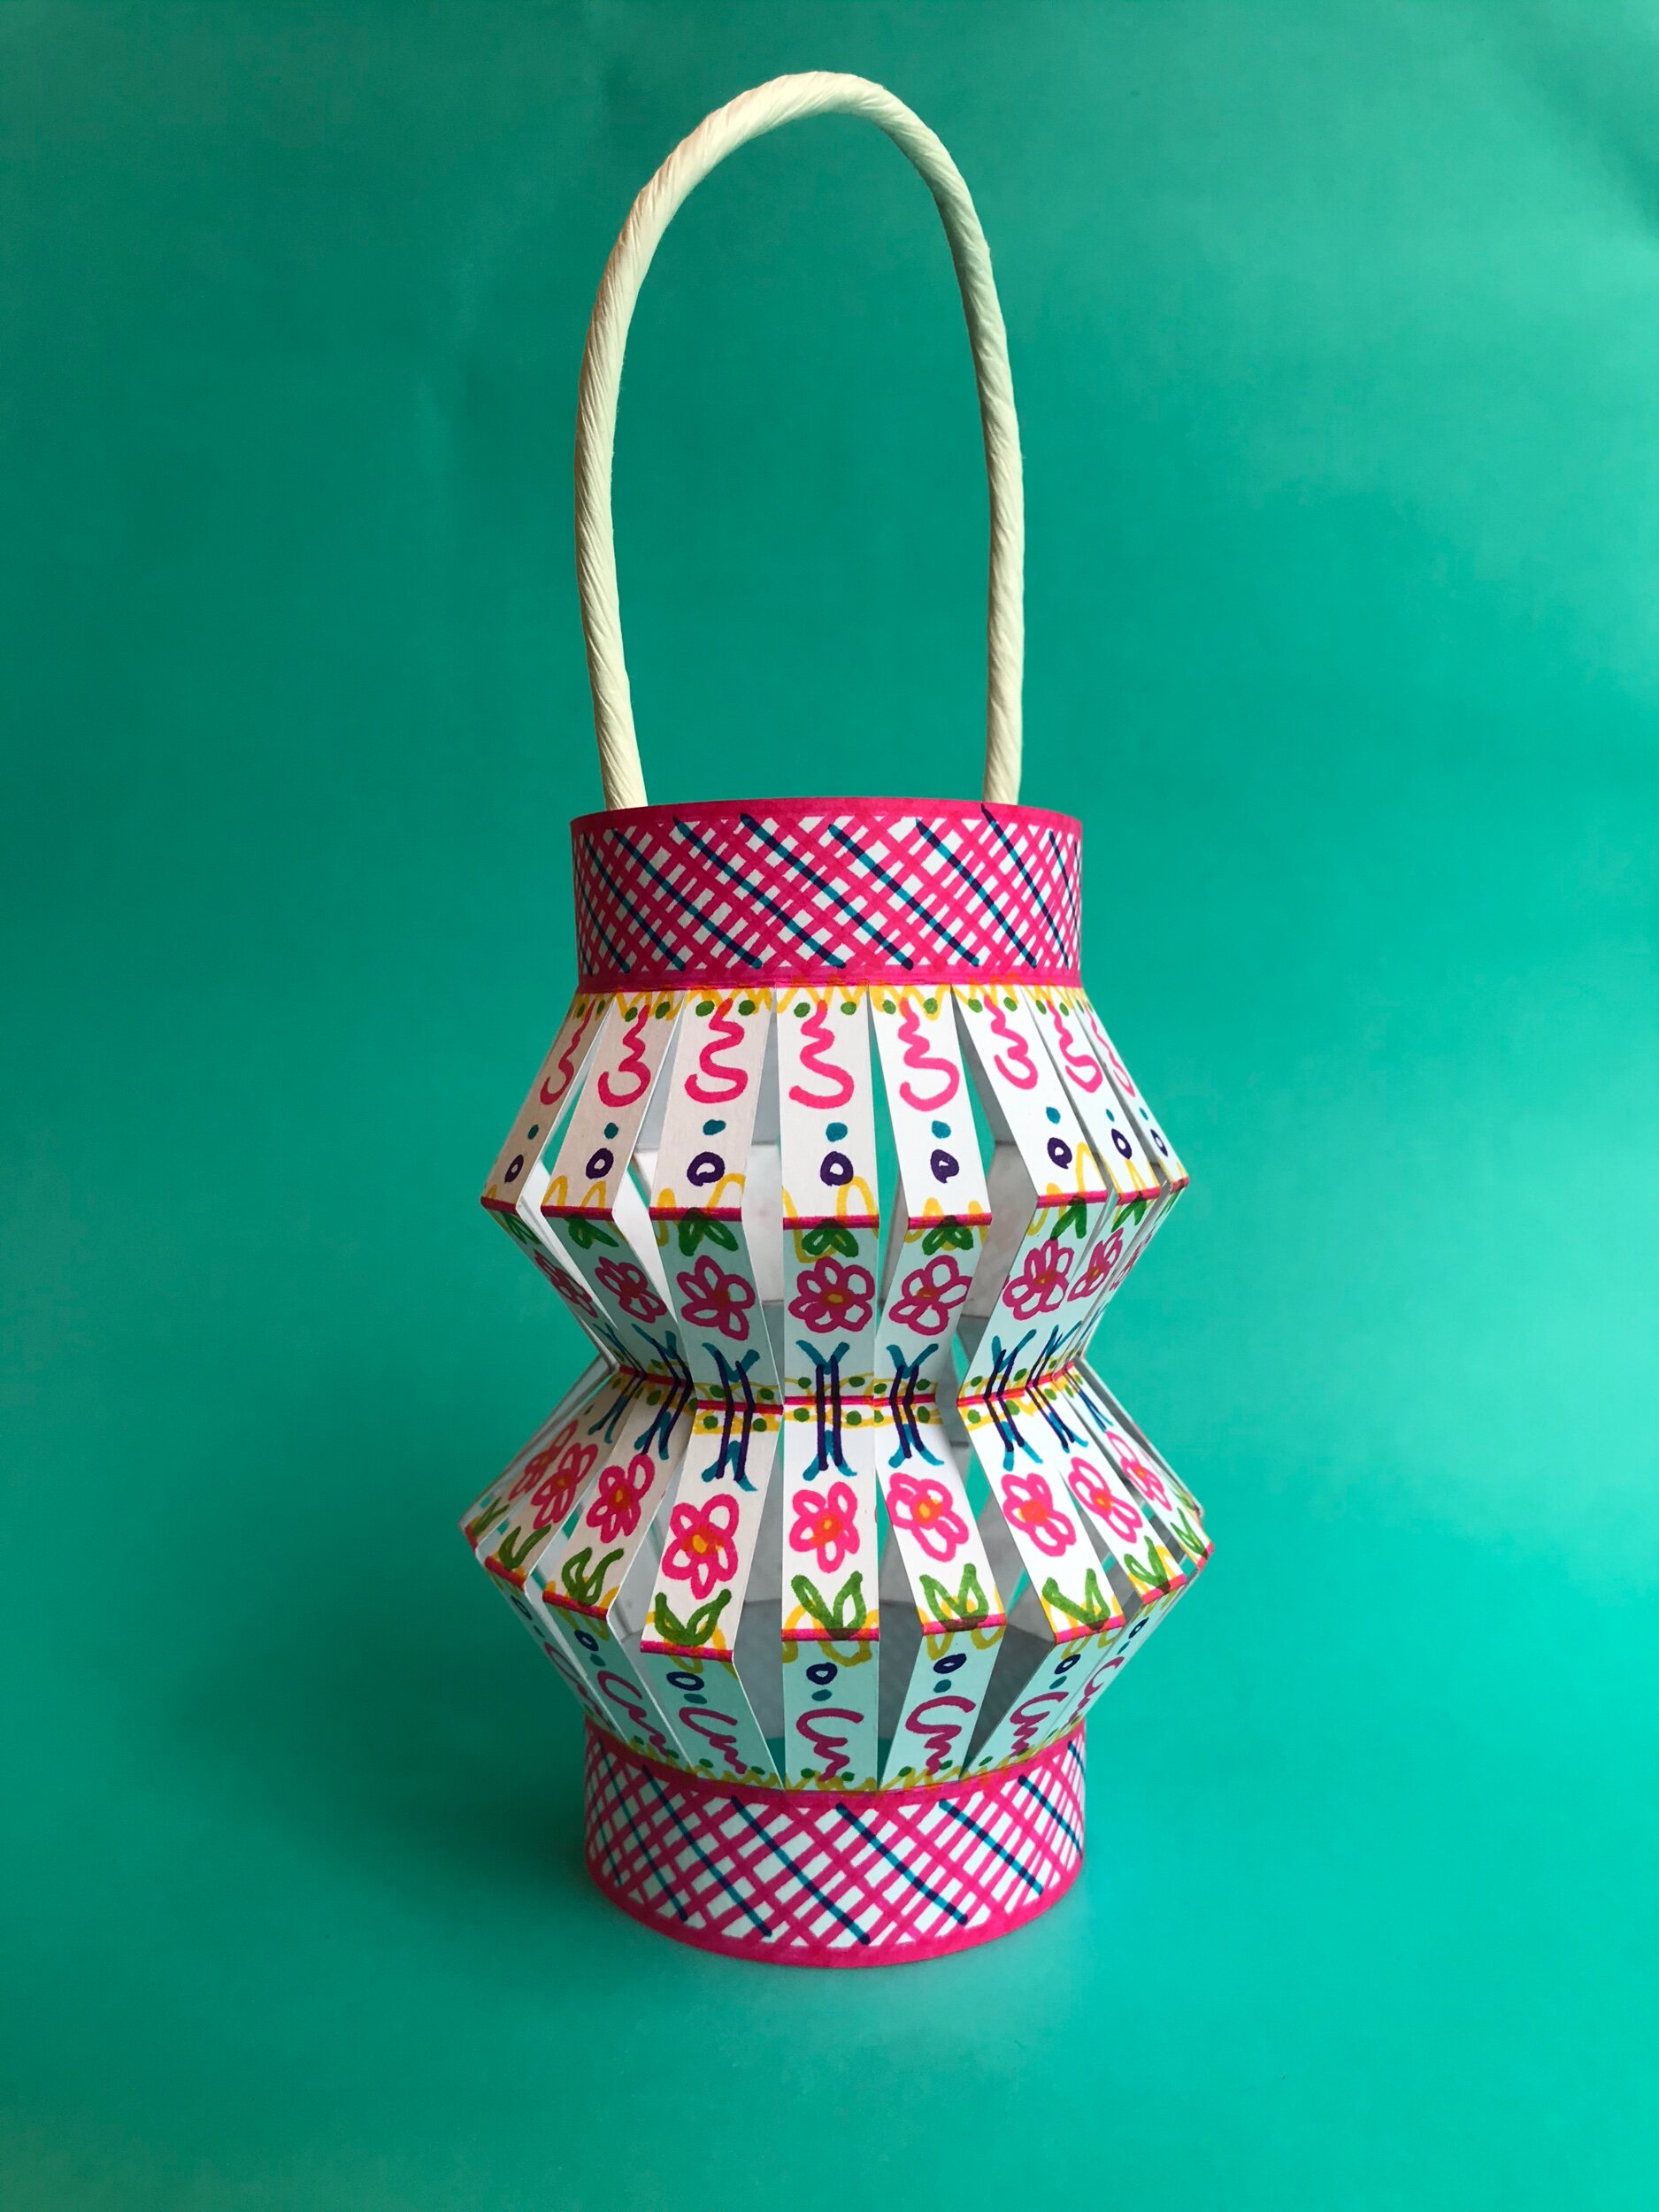
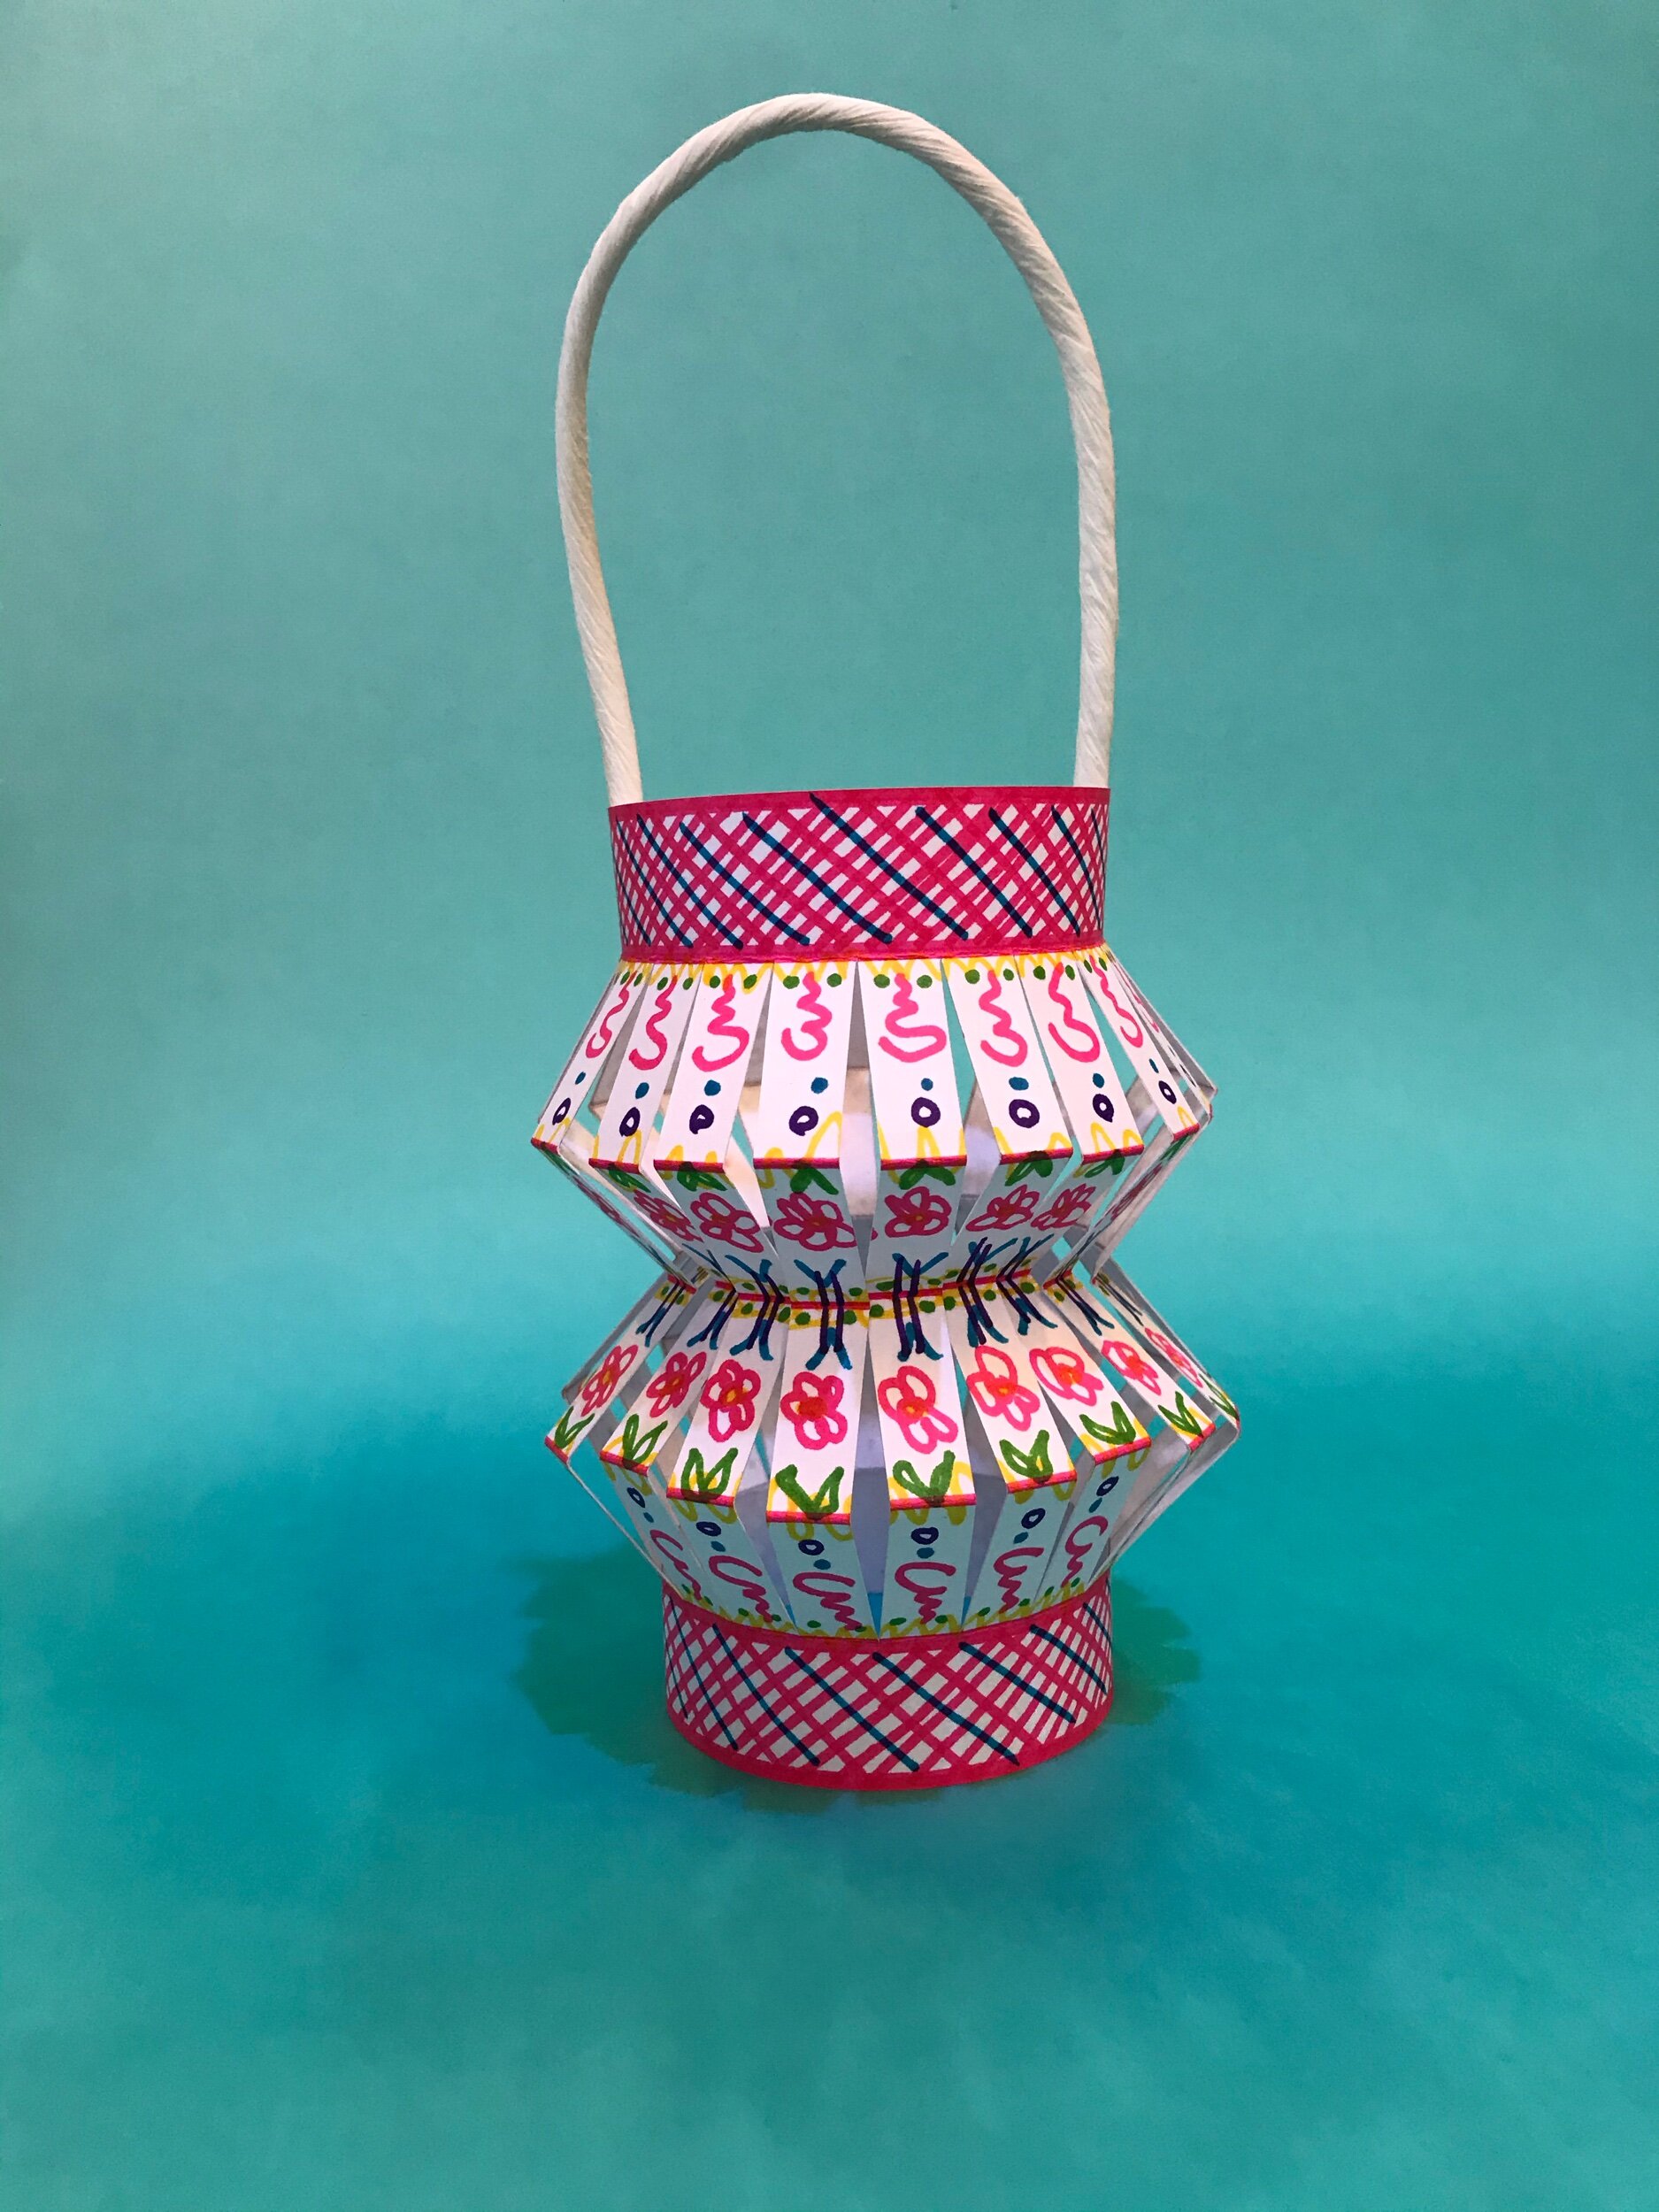
By making folds in different places you can create a very different look! For this lantern I added a fold through the middle and then another in-between the middle and the border folds. I then decorated the panels of my lantern by doing lots of colourful doodles! It was actually really fun to draw some shapes. When was the last time you let yourself get lost in drawing? It’s so calming, I absolutely recommend you give it a go! Plus, literally anything you doodle on your lantern will look wonderful, so don’t worry about the outcome! Just play! I re-used a white paper shopping bag and handle to make this lantern.


one last lantern shape to try!
Here I have added a fold 2cm from the top and bottom borders, shown below with both 1cm or 2cm panels.
Happy lantern making!


